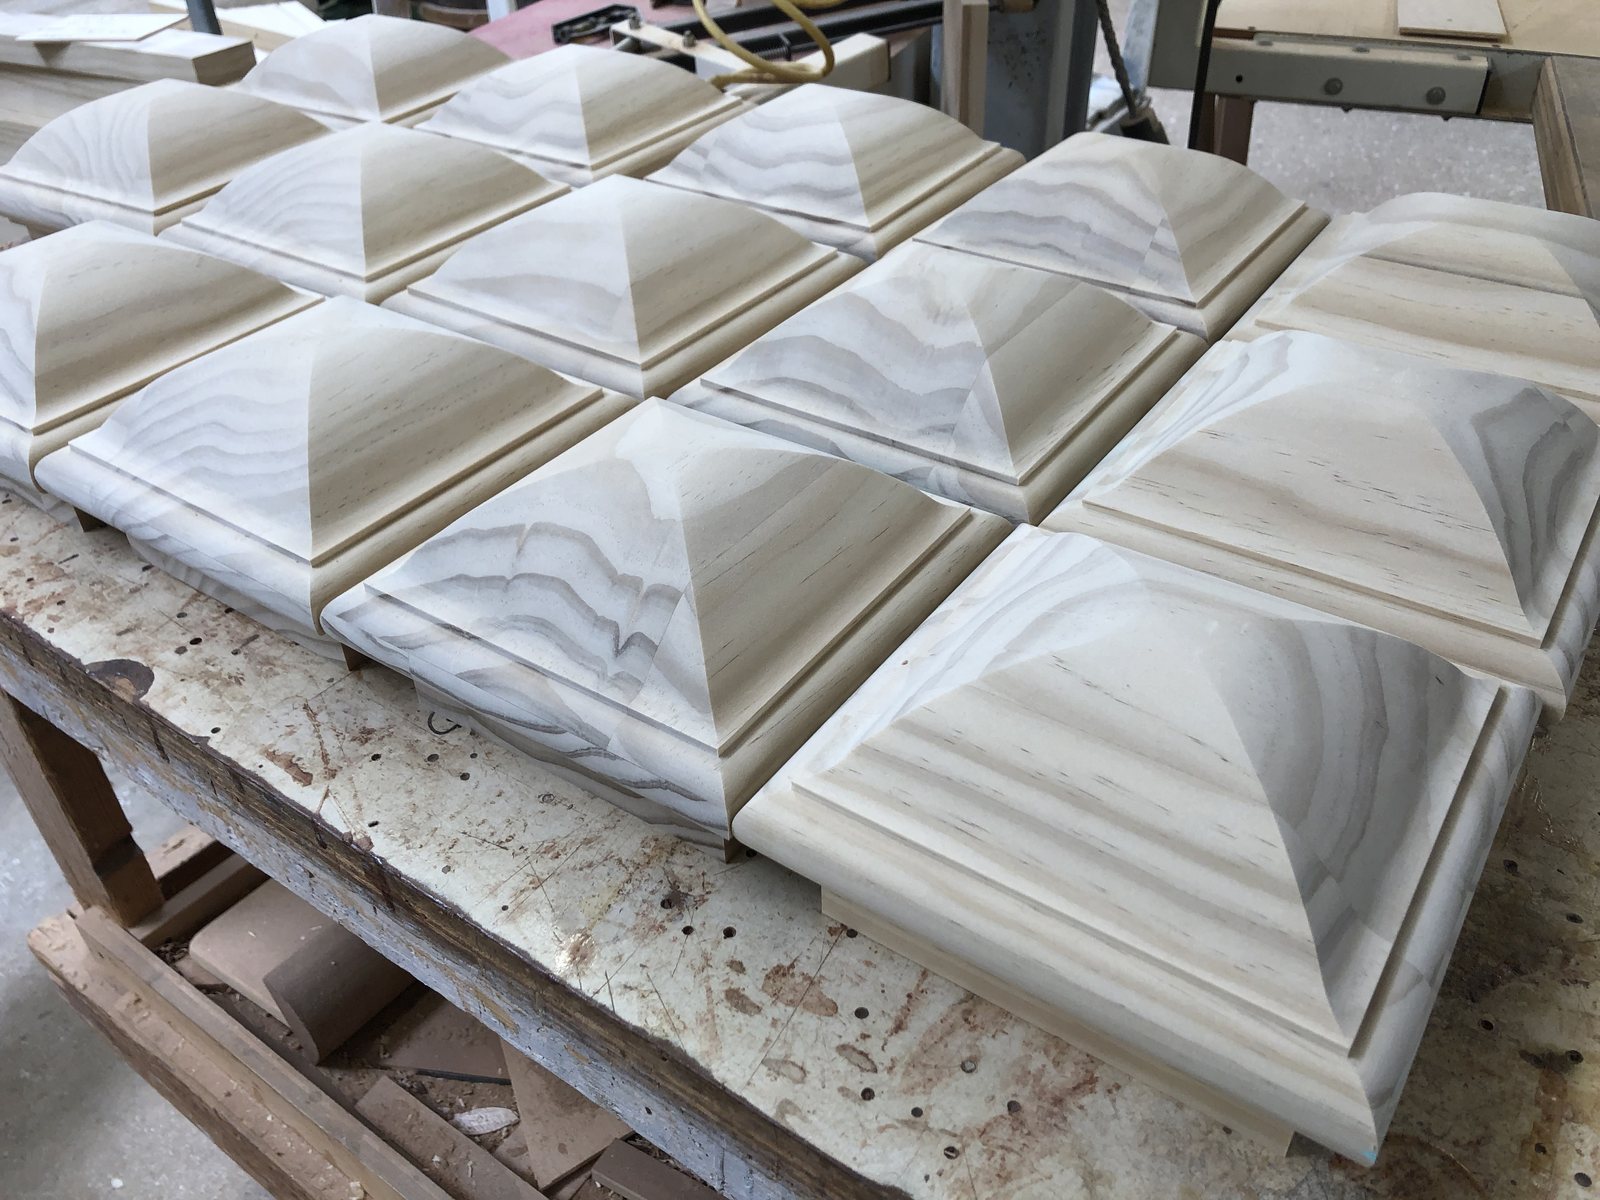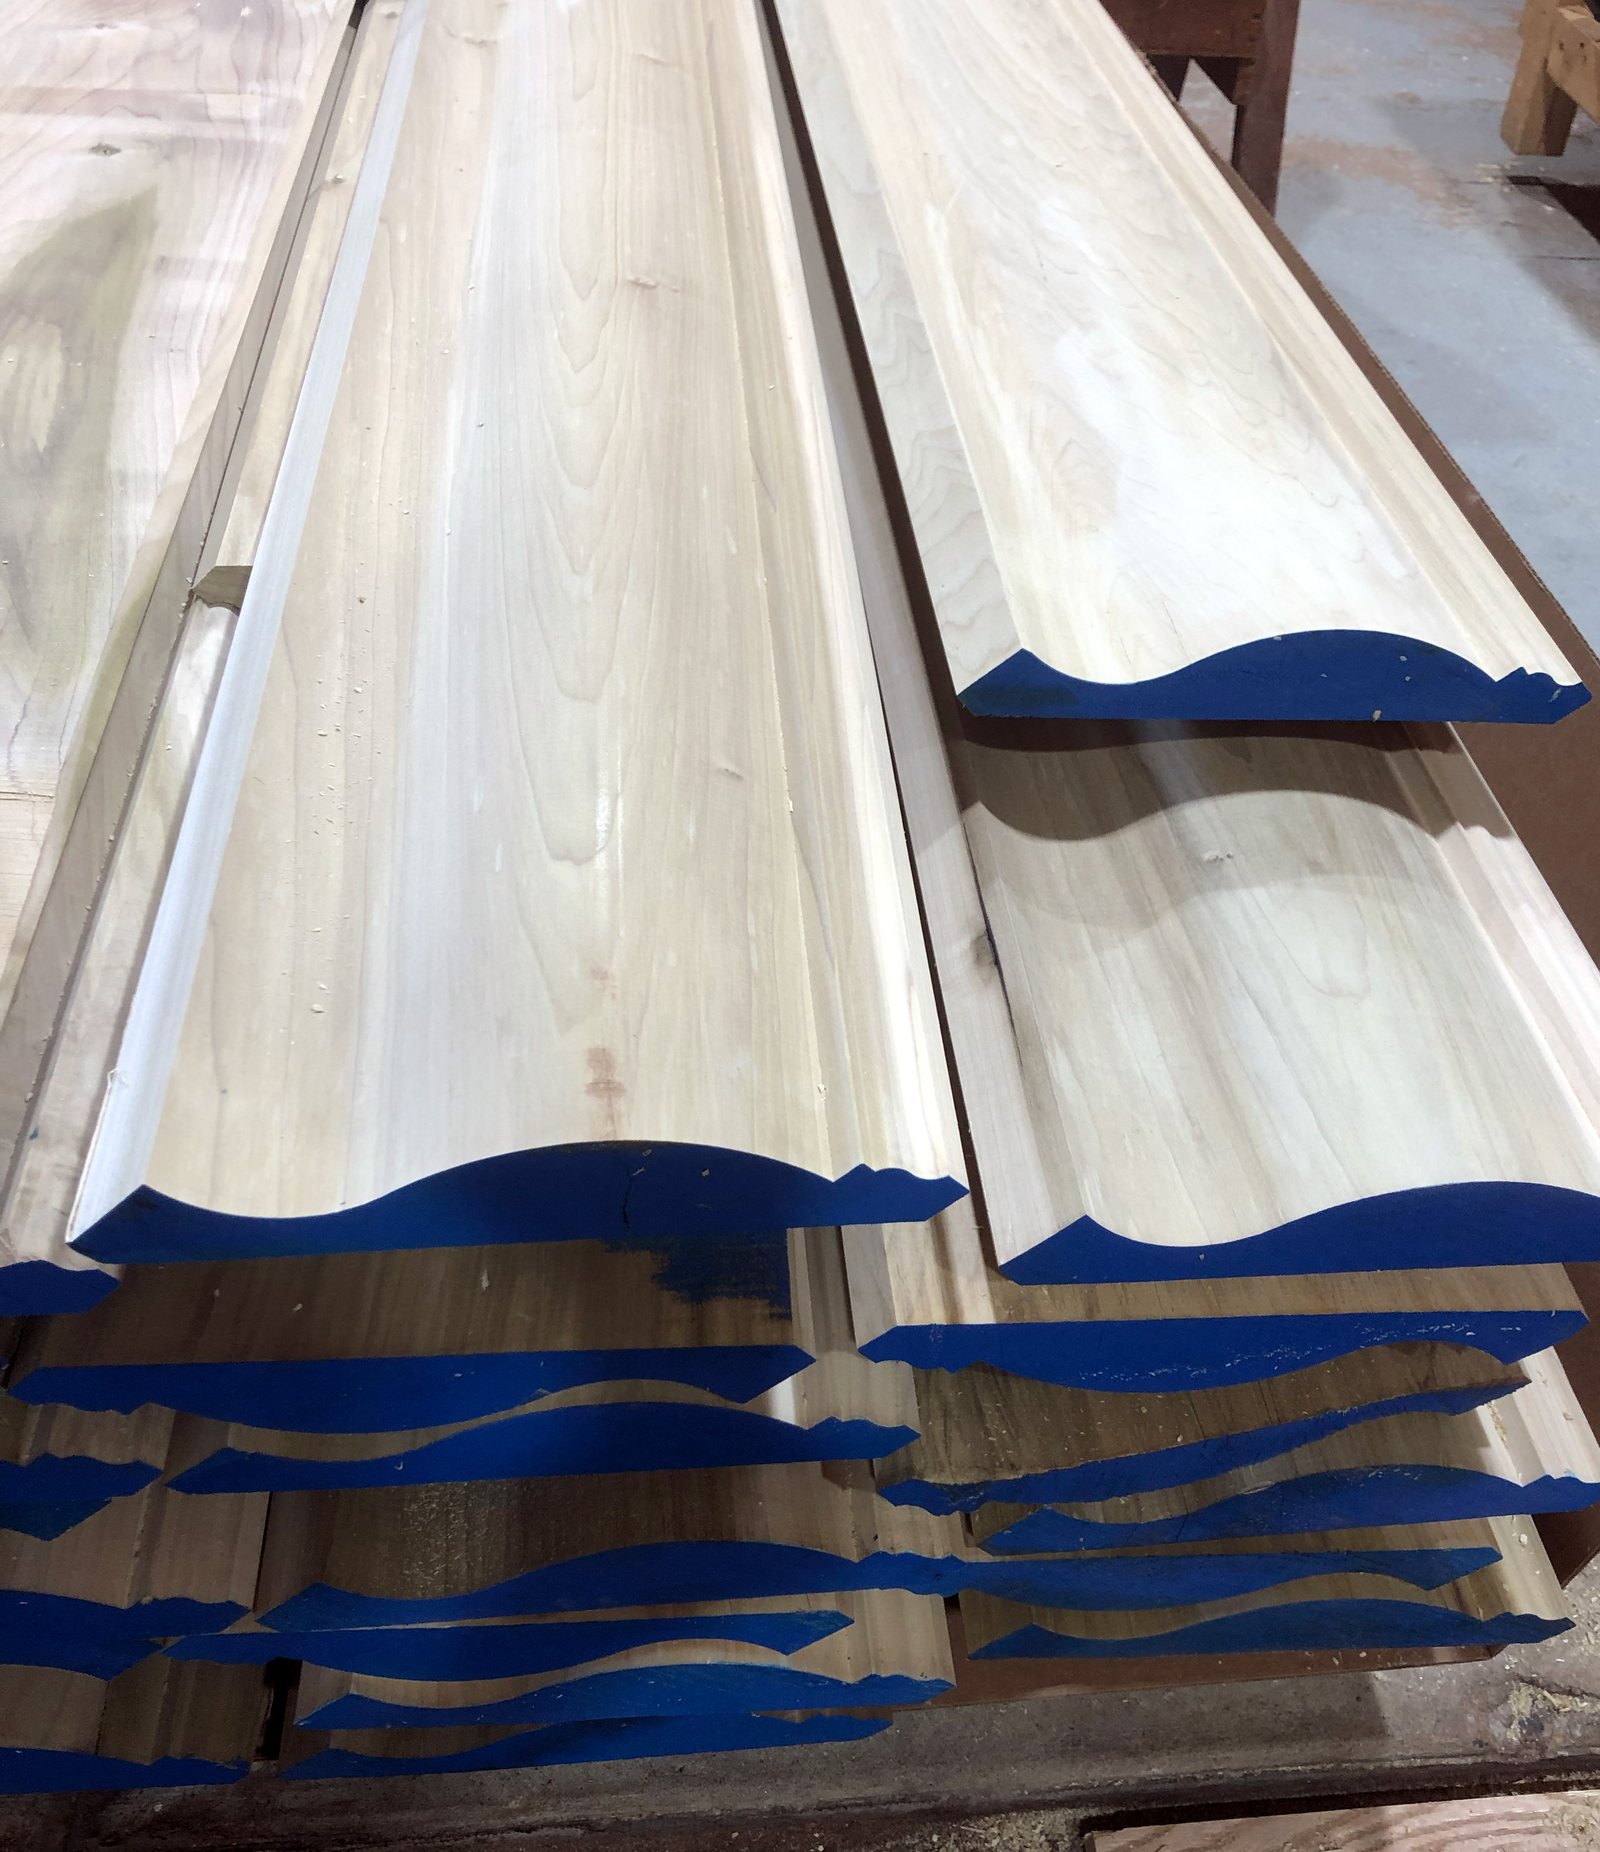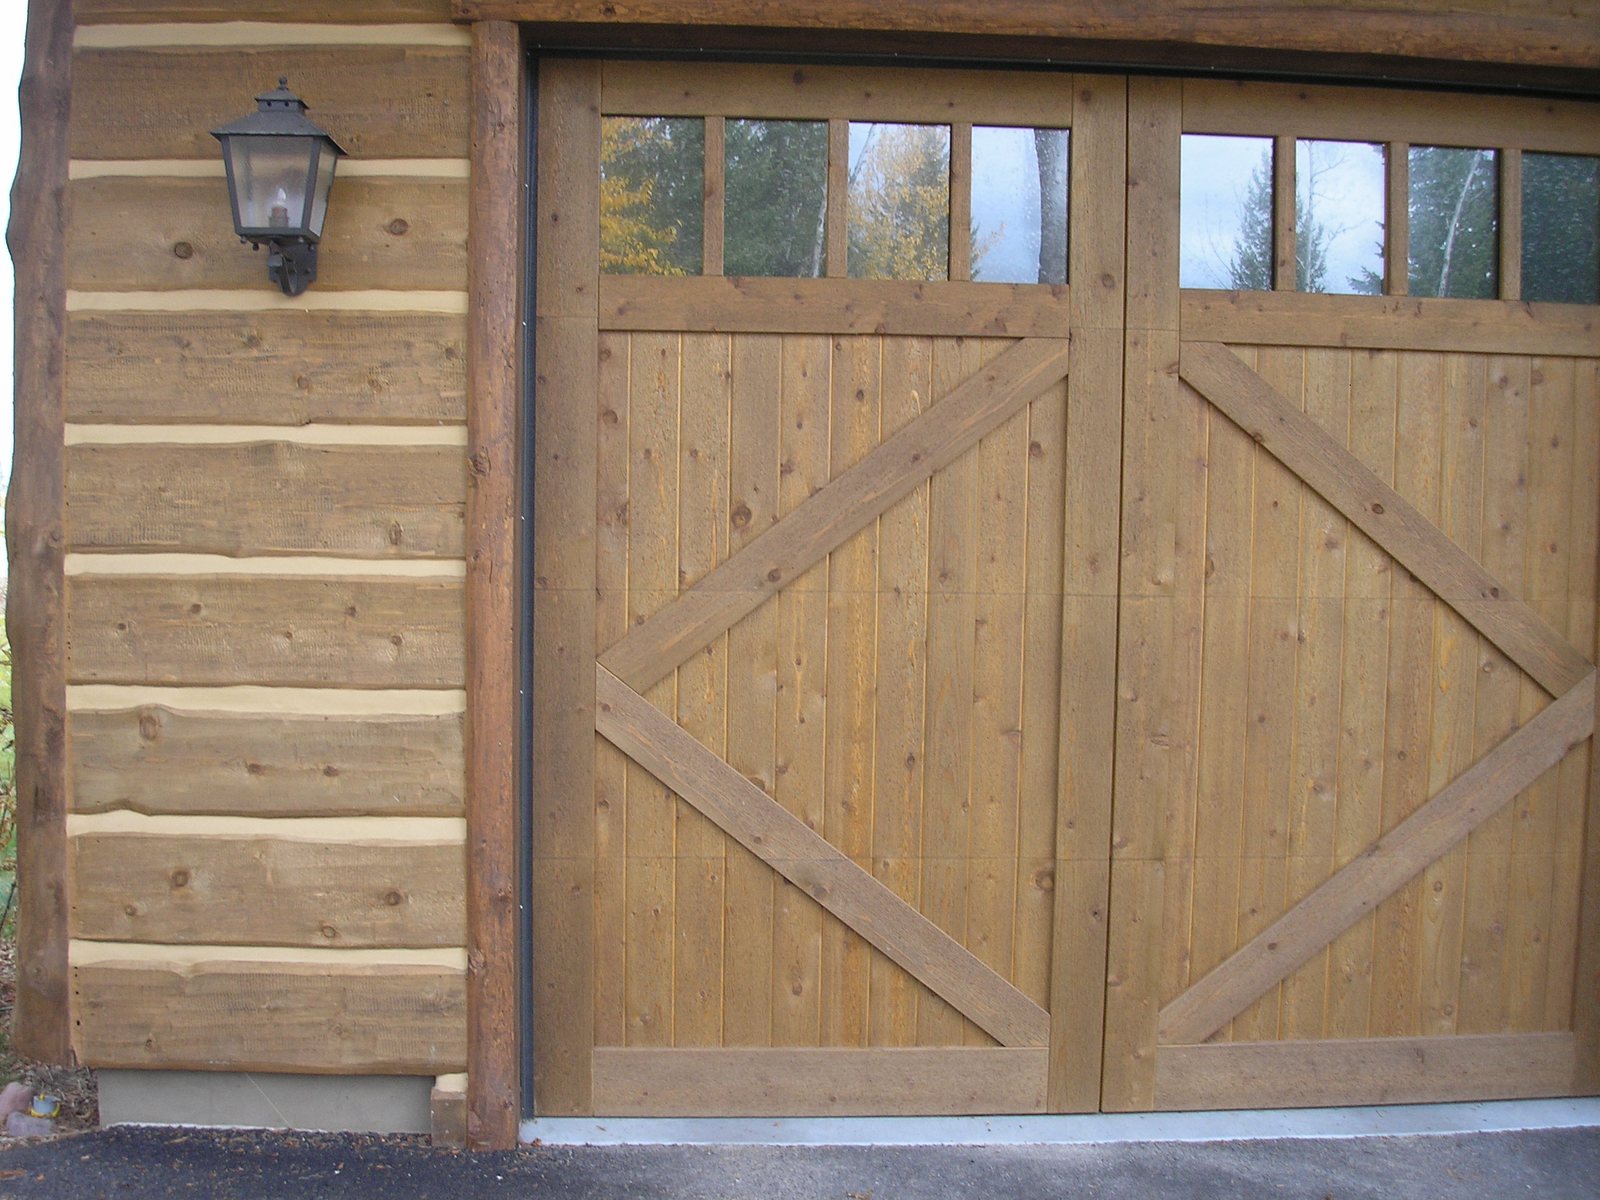
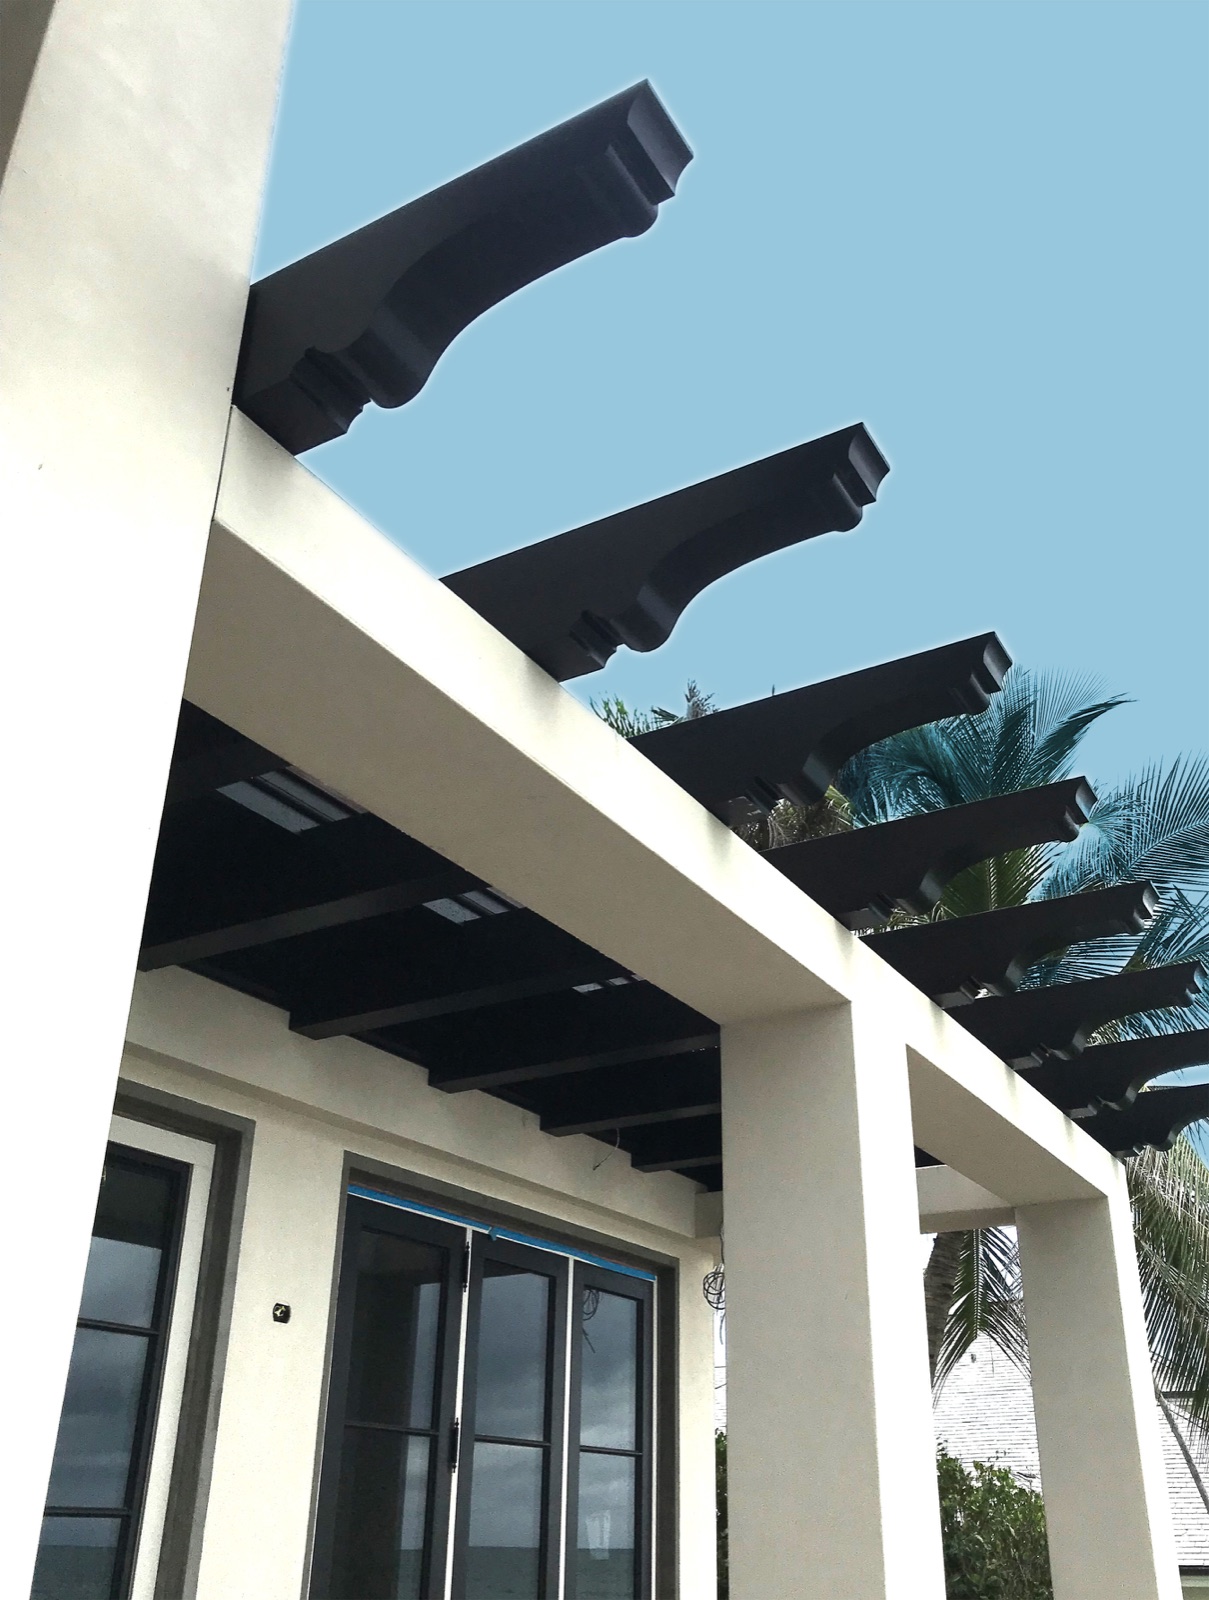
Before anyone talks about profiles, find out whether the tail you are replacing carries load or only carries the eave line.
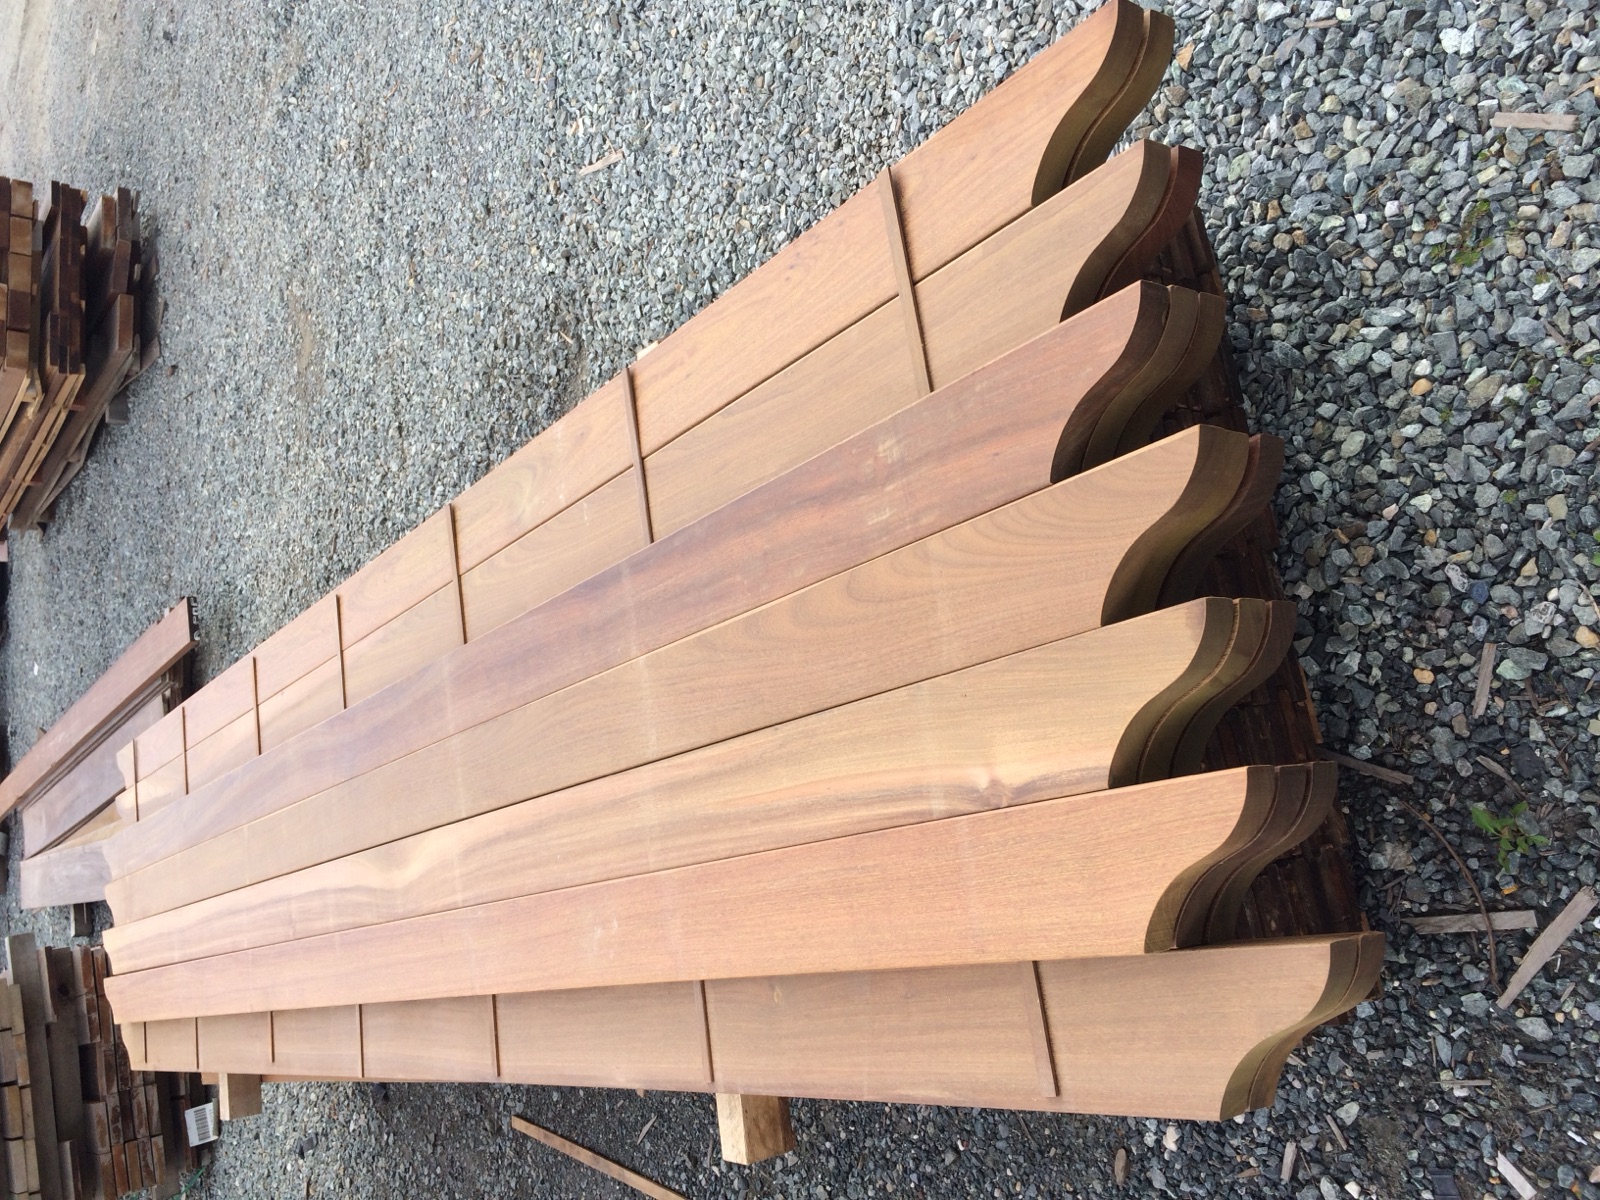
A rafter tail replacement on an existing building splits into two very different jobs, and the split happens above the soffit where nobody has looked yet. On one building the tail is the outboard end of the roof rafter itself, running past the wall plate and doing structural work all the way to the seat cut. On another it is a false tail, a decorative block nailed or lagged to a subfascia, blocking or the sheathing, applied after the roof framing was already complete. The two look identical from the driveway. They are not the same order.
Pull one soffit panel and the answer usually shows itself in a few minutes. A structural tail is continuous with the rafter above it, and the top of the tail is under roof sheathing. A false tail dead ends against a nailer and the sheathing runs past it. Track the load path before ordering, since replacing a structural tail means the roof edge has to be supported while the old member is cut back, and that is engineering territory covered by the design standards the American Wood Council publishes and the code references. False tails come off with a pry bar and a reciprocating saw. Structural tails come off with a plan.
The reason this matters at the millwork stage is that the two products get made differently. A false tail can be milled from a clear, quartersawn or rift piece chosen purely for stability and paint holding. A structural replacement tail has to be sized, graded and specified as framing, then have the exposed length shaped to match. Very often the right answer on a renovation is to cut the deteriorated structural tail back to sound wood inside the wall line, sister or scab as the structural engineer directs, and then apply a shaped false tail over the repair. That produces a clean profile match without asking the millwork to do a structural job it was never graded for.
A renovation rafter tail order starts with a survey of every tail on the building, not one measurement off the worst one.
Original tails on a house built before power tools were common were cut by hand, in place, off a story pole or a single template. They vary. Measure twenty tails on a 1915 bungalow and the depth at the fascia can wander a quarter inch across the run, the tail length can wander more than that, and the curve of an ogee end can be noticeably fuller on the tails the carpenter cut first. Copy one tail exactly and you may end up with new parts that fit nothing but the one you copied.
Build a survey table before ordering. Number the tails by elevation and by position. Record overall length past the wall face, depth at the fascia, thickness, the drop of the decorative end, the presence or absence of a bird's mouth, and the condition. Photograph each one with a folding rule in the frame, held flat against the face so the camera does not foreshorten the dimension. Note which tails still carry gutter hangers, since the hanger fastening pattern is often the only surviving evidence of where the original fascia sat.
Then look at the spread. If the variation is under about an eighth of an inch, one profile serves the whole building and small differences disappear once the fascia and frieze go back. If the variation is larger and visible from grade, the honest approach is to group the tails, run the dominant profile for the majority, and run a second setup for the outliers. A shop with a live knife grinding operation can do that without turning it into a special project.
Capture the profile three different ways, from the least damaged tail you have, and do it before demolition.
The single most common failure on a renovation millwork order is that the evidence gets thrown in the dumpster. Once the tails are down and gone, everyone is working from a phone photo taken at an angle from twenty feet below. Take the evidence first.
Three captures, all of them cheap. First, a full size rubbing or template. Hold card stock or heavy paper against the side of the tail, trace the outline with a soft pencil, then cut the template and check it back against two or three other tails. Second, a straight on photograph of the end silhouette and of the side elevation, camera square to the face, with a rule taped alongside. Third, and best of all, one salvaged tail. Cut the soundest tail off the building intact, wrap it, and send it in. A physical sample removes every argument about what the curve actually is.
What the shop does with that sample is knife work. ICD, the architectural millwork division of J. Gibson McIlvain, works from a moulding profile library holding thousands of profiles, and when the match is not already in the library a new knife gets ground to the sample. New knives are ground every week for exactly this kind of work, historical restoration profiles included, and the process is described on the ICD trim profiles page. The industry reference patterns published by the Moulding and Millwork Producers Association are useful when a profile happens to be a standard, but original eave detail on an older building rarely is.
The condition you find during the survey decides what you are actually ordering, and the conditions below turn into very different orders.
Buyers tend to describe this work as "replacing rafter tails" as though it were one line item. In practice the order changes shape depending on what the survey turned up, and getting the scope right early keeps the shop from grinding a knife for parts that were never needed.
| Condition found on the survey | What you are actually ordering | What the shop needs from you | What stays a site operation |
|---|---|---|---|
| Only the outer end is decayed, back of the tail sound | Shaped tail ends milled to run long, to be cut to a scarf or butt line on site | Template or salvaged end, thickness and depth, how far back sound wood begins | Cutting back to sound wood, the splice, fastening and sealing the joint |
| One elevation gone, other elevations still original | A partial run matched to surviving tails, milled and primed to match the existing finish system | Survey of the surviving tails on adjacent elevations, not just the failed run | Blending the new run into the old at the corner boards |
| Tail is the outboard end of a structural rafter | Shaped false tails applied over an engineered structural repair, or graded framing plus separate shaped stock | Confirmation from the structural engineer of what the applied part may and may not carry | Temporary support, the structural cut and splice, the engineer's inspection |
| False tails on a subfascia, none structural | A straight run of shaped tails in one species, one profile, primed on all faces | Count, profile capture, species and finish intent | Layout, spacing, fastening and the final coat |
| Original profile destroyed by rot or by earlier repairs | A reconstructed profile approved from a shop drawing or a sample tail before production | Any surviving evidence, including photographs and hanger locations | Review and approval of the sample before the run is milled |
| Oversized, curved or built up tails | Box beam construction rather than a solid timber, with the joinery chosen for the exposure | Finished face dimensions and which faces are visible from grade | Handling, hoisting and fastening the assembled sections |
Oversized tails deserve a note. A deep tail cut from one solid timber will check and twist as it dries in place, and no supplier can prevent that in solid unmodified wood. A built up box beam gets around it. Butt joints are the fastest and the easiest to handle, with visible seams and visible end grain and the least strength. Dado joints are strong and still straightforward to put together, with the seams still showing. Lock miter joints show no seam at all and are the strongest of the three, which is why they are the usual choice where the tail is visible from the ground.
Partial tail replacement and whole run replacement are two different products, and the splice location decides which one you need. Rot in a rafter tail almost always starts at the exposed end grain and works inward. Water sits on the cut end, wicks along the grain, and the decay follows the moisture. The back half of the tail, sheltered by the soffit and the wall, is frequently still sound. Cutting the whole tail out when only the last several inches have failed wastes good structure and multiplies the site work.
A partial replacement means the shop mills shaped ends and leaves them long so the installer can cut the splice where sound wood actually begins, which will not be at the same station on every tail. Run them long. The splice itself is site work, and the joint has to be designed to shed water rather than to hold it, which is the whole logic of the rain control approach that Building Science Corporation lays out in its digest on the subject. A sloped scarf with the upper piece lapping over the lower sheds. A flat butt joint facing up collects.
Whole run replacement makes sense when the failure is general, when the tails were undersized or wrong from an earlier repair, or when the existing profile has already been lost. The advantage is uniformity, since every part comes off the same knife at the same setup, and the exposure of the run reads as one thing from grade.
Identify what the existing tails are made of, then decide on purpose whether matching that species is the right call.
Old eave millwork on the East Coast is usually old growth softwood, most often a dense Southern Yellow Pine, sometimes Douglas Fir, sometimes an Eastern White Pine on lighter trim, occasionally Cypress on the coast. Cut a sliver from a hidden face and look at the end grain with a hand lens. Ring count, earlywood to latewood transition and resin canals will get you close, and the species pages at the Wood Database and the property tables in the Forest Products Laboratory Wood Handbook are the right references for confirming it.
Here is the part buyers do not expect. Identifying the original species does not obligate you to buy it. The tight ringed old growth stock in those tails is not what is on the market today, and second growth material of the same botanical species behaves differently, with wider rings, more sapwood and less decay resistance. For a painted eave, what matters is dimensional stability and paint holding, not botanical lineage. Nobody standing in the yard can tell you the species of a painted rafter tail.
Practical choices for painted renovation tails run to Sapele, which holds paint better than Genuine Mahogany and comes in a wider range of sizes and longer lengths, at roughly 1,410 lbf on the Janka scale against roughly 800 lbf for Genuine Mahogany. Sapele is not milled 1x8 for exterior use, since that width does not stay stable outdoors. Cedar is a legitimate and long serving default for eave work, and the grade matters more than the species name here, with clear vertical grain, CVG, being the choice where a smooth painted or stained face has to stay flat, and select tight knot, STK, being appropriate where a knotty character is what the building already has. For tails that will be left natural under a deep overhang, Ipe, Tabebuia spp, and Cumaru both hold up, though their weight and hardness change how the installer fastens them.
Where a species carries CITES listing, the documentation and chain of custody travel with the material, which is worth knowing on a landmarked project where the paperwork gets reviewed. The listings themselves are published by CITES, and FSC certified material carries its own chain of custody through FSC.
"The renovation orders that go smoothly are the ones where somebody sent us a real piece of the building. A template is good, a photograph with a rule in it is workable, but one salvaged tail in a box settles every question about the curve, the thickness and the species in about ten minutes. The orders that go sideways are the ones where demolition happened first and we are all guessing from a phone picture."
Norm Moton, Director of Sales, J. Gibson McIlvain
Replacement tails get milled to exterior moisture content, and matching the moisture content of the wood already on the building is not the goal.
Interior millwork is milled to an in service moisture content near 6 to 8 percent. Exterior work, including rafter tails, fascia and any part of the eave assembly, is milled near 12 to 16 percent, because that is roughly where exterior wood equilibrates through a normal year in most of the country. Wood shrinks and swells as it moves toward equilibrium with the air around it, and the Wood Handbook covers those relationships in detail. Put a 7 percent part into a 14 percent eave and it will take up moisture, swell across its width, and open the joints at its ends.
The mistake that shows up on renovations is subtler than that. A contractor buys interior grade trim stock from a general supplier because it is on the shelf, mills a rafter tail from it, and installs it next to hundred year old tails that have been at exterior equilibrium since the Coolidge administration. The old parts are stable. The new one moves. One winter later the paint line at the fascia joint has cracked and everyone blames the paint.
Quartersawn and rift stock moves less across its width than plainsawn, which is why it gets specified where a painted face has to stay flat. On rafter tails, where the visible face is often four to eight inches deep and carries a paint film, that difference is worth asking for.
Matching the finish on a partial replacement is harder than matching the profile, and the shop can only solve half of it.
A new rafter tail next to eighty year old painted tails will look new, even with a perfect profile match and the same paint. The old surface has grain raise, old brush texture, prior repairs and a paint film built up over many recoats. There are two honest ways through this. Repaint the whole elevation so everything reads as one surface, which is what most architects specify. Or accept that the new run will look crisper for a season or two until weathering evens it out.
Priming is where the shop earns its keep on painted eave work. J. Gibson McIlvain primes millwork in three levels, in both oil based and water based systems, and exterior primed trim should carry a fungicide additive. Open grained and oily exterior species soak up a lot of finish, so the primer coat evens out how the eventual painted surface looks. Sanding or buffing after priming knocks back the grain raising while leaving the moulded detail crisp, which matters on a tail where the whole point is a sharp ogee or cove. Priming happens on all faces before the parts ship, including the end grain, which is the face that fails first. The company's millwork services cover linear trimwork, finished cladding and primed trim on the same order.
Stained or natural tails are a different match problem. Weathered wood has silvered, and no stain matches silvered wood on day one. Specify the species and let it weather in, or plan on a maintenance coat schedule from the start.
Modified wood solves the worst eave exposures on a renovation, and its size ceilings have to be designed around rather than discovered late.
Where tails have already rotted once, the exposure is telling you something. A shallow overhang on a wind driven rain elevation, no gutter, or a valley dumping onto the eave will do it again to the replacement. Acetylated wood is the strongest answer available in a paintable, stable product. Accoya runs roughly 1,600 lbf on the Janka scale, and acetylation gives it dramatically reduced shrinkage and swelling, which is exactly the property a painted exterior part needs.
Thermally modified stock is the other family, and Thermory and Abodo Vulcan are both carried. Two ceilings govern the specification. Modified woods top out around 16 feet, with most sold on metric lengths just under 16 feet, and that limit comes from kiln size rather than from anything about the wood. Thermally modified Ash is not available wider than 8 inches, so a deep tail face in a modified product means Accoya or Abodo Vulcan.
One more point that belongs in every renovation conversation. Warranties exist on modified products. There is no warranty on solid unmodified wood, and no reputable supplier offers one, since solid wood is an organic material that responds to its environment. That is not a hedge, it is how the material works.
On a landmarked or district property, review approval comes before the knife is ground, not after the parts arrive.
Commissions reviewing work in a historic district want like for like on eave detail, which typically means both the profile and the species, and they want to see it documented before fabrication. The National Park Service Preservation Briefs are the reference most commissions lean on, and Brief 47 on maintaining the exterior of historic buildings covers the repair before replacement principle directly. Repair is preferred. Replacement in kind is acceptable where the element has deteriorated beyond repair, and that judgment is the one you document.
What a submission usually needs is a measured drawing or a rubbing of the existing profile, a shop drawing of the proposed replacement, a species statement, and a photographic record of the existing condition. A shop that can produce a sample tail from the ground knife, before the production run, gives you something to put in front of a commission that a drawing alone will not do. ICD's working process is built around approval steps like that.
Build the review calendar into the schedule. A commission that meets monthly can add weeks between the survey and the first cut, and that time has to land before knife grinding rather than after.
Lead time, overage and storage decide whether the parts are on site when the roof edge is open, and that is a schedule problem more than a millwork problem.
Eave work exposes the roof edge. Nobody wants that open through a wet stretch waiting on trim. Sequence the order so the survey, profile capture and approval happen while the roof is still intact, and the tails arrive before demolition rather than after.
Order overage. Renovation counts are never exact, since tails get discovered behind additions, a few get damaged in handling, and the installer will want spares for the ones that split during fastening. Five to ten percent above the survey count is normal practice, and running the extras on the same setup costs far less than a second setup later. Keep two or three finished spares on the property after the job for future repairs, stored flat and out of the weather.
J. Gibson McIlvain stores finished millwork for inventory control, which matters on renovations where the schedule slips for reasons nobody controls. Parts milled and primed to a specific moisture content should not sit on a job site under a tarp for two months waiting on a roofer. The company ships nationwide, regularly to California, and holding a completed run in a controlled environment until the site is ready is a normal part of the arrangement.
How J. Gibson McIlvain Would Specify This
A renovation rafter tail package gets specified from the building outward, and the order of operations is fixed.
Survey first. Number every tail by elevation, record length, depth, thickness and end drop, photograph each with a rule in frame, and note condition. Determine structural versus false by pulling a soffit panel, and get the structural engineer's direction in writing where the tail is continuous with the rafter. Capture the profile three ways, with a rubbing, square on photographs and one salvaged tail shipped to the shop. Do all of that before demolition.
Then write the specification. State the species and the grade, calling out CVG or STK explicitly where cedar is used, and specify quartersawn or rift where a deep painted face has to stay flat. Call for exterior moisture content near 12 to 16 percent, not interior stock. Specify shop priming on all faces including end grain, three level priming in oil based or water based systems as the finish schedule requires, with a fungicide additive on exterior work, and sanding or buffing after priming to keep the moulded detail sharp. Where the exposure already killed one generation of tails, specify Accoya, or Thermory and Abodo Vulcan, and design the run inside the roughly 16 foot length ceiling, remembering that thermally modified Ash stops at 8 inches wide. Where the tail is oversized or curved, specify a box beam with lock miter joinery for a seamless face. Add five to ten percent overage and ask for spares to be held.
ICD, the architectural millwork division of J. Gibson McIlvain, handles the true custom side of this work, including rafter tails, gates, box beams, custom doors, radius trimwork and millwork, pergolas, shutters, benches and railings, and the range is laid out on the ICD exterior millwork page. J. Gibson McIlvain mills the linear trimwork, finished cladding and primed trim that goes around it, on moulders fed by a knife library holding thousands of profiles with new knives ground every week. The company supplies and mills. It does not install, so the splice cuts, temporary support, layout, fastening and final coat belong to your own carpenter, and the parts get delivered ready for that work.
Send the survey, the template and the salvaged tail, and call 800-638-9100 to walk the profile through with a millwork specialist before the roof edge is opened.
Frequently Asked Questions
How many of the existing rafter tails should I measure before ordering replacements?
All of them, or at minimum every tail on the elevations that will be visible next to the new work. Hand cut tails on an older building vary from one to the next, sometimes by a quarter inch in depth and more in length. Record length past the wall face, depth at the fascia, thickness, the drop of the decorative end and the condition, and photograph each one with a folding rule held flat in the frame. If the spread across the building is under about an eighth of an inch, one profile covers the whole run. If it is wider than that and readable from grade, group the tails and run a second setup for the outliers.
How can I tell whether my rafter tails are structural or purely decorative?
Pull one soffit panel and look at how the tail meets the wall. A structural tail is the continuous outboard end of the roof rafter, and roof sheathing runs over the top of it. A false tail stops against a subfascia, blocking or the sheathing and was applied after the framing was done. The distinction changes the whole job, since a structural tail means the roof edge has to be supported while the deteriorated portion is cut back and the repair is the structural engineer's call, while a false tail is a millwork part you can simply order, prime and hang.
Can I replace only the rotted end of a rafter tail instead of the whole tail?
Usually yes, and on most buildings that is the better repair. Decay in a rafter tail starts at the exposed end grain and works inward along the grain, so the sheltered back half of the tail is frequently still sound. Order shaped tail ends milled long so your carpenter can cut the splice where sound wood actually begins, which will not be the same station on every tail. Detail the joint to shed water, with the upper piece lapping over the lower on a sloped scarf rather than a flat upward facing butt that collects.
Do I have to match the original species when I replace rafter tails on an old house?
Not always, and matching it is sometimes the wrong move. The old growth softwood in original tails is tighter ringed and more decay resistant than second growth material sold under the same species name today. On a painted eave nobody can identify the species from the ground, so stability and paint holding matter more than botanical lineage. Sapele holds paint well and comes in a wider range of sizes and longer lengths than Genuine Mahogany. Cedar remains a legitimate default, and the grade choice between clear vertical grain and select tight knot matters more than the species label. Where a historic commission requires like for like, match the species as documented.
What should I send the shop if the original tails are too far gone to template?
Send everything that survives. Square on photographs of the side elevation and the end silhouette with a rule in frame, any fragment of the decorative end, measurements of the sound portion, and the gutter hanger fastening pattern, which often marks where the original fascia sat. From that evidence a profile gets reconstructed as a shop drawing, a knife is ground, and a single sample tail is produced for approval before the production run. Approve the sample against the building, not against a drawing on a screen.
Should new rafter tails be primed at the shop or painted after installation?
Primed at the shop, on every face, including the end grain that fails first. J. Gibson McIlvain primes in three levels in both oil based and water based systems, and exterior primed trim should carry a fungicide additive. Open grained and oily exterior species absorb a great deal of finish, so a shop primer coat evens out the eventual painted surface, and sanding or buffing after priming knocks back grain raising while keeping the moulded detail crisp. Field applied topcoats are still your painter's work, and the cut ends made during splicing have to be sealed on site before the parts go up.
How much overage should I order on a rafter tail replacement run?
Five to ten percent above the surveyed count is normal. Additional tails turn up behind additions, some get damaged in handling, and a few split during fastening. Running extras on the same knife setup is far easier than coming back for a second setup months later. Keep two or three finished spares stored flat and out of the weather after the job so a future repair matches without another profile hunt.
Does J. Gibson McIlvain install replacement rafter tails?
No. J. Gibson McIlvain supplies and mills. The company surveys nothing in the field and performs no installation, so the demolition, temporary support, splice cuts, layout, fastening and final coat belong to your own carpenter or restoration contractor. What arrives is a matched, milled, primed set of parts, ready to hang, shipped nationwide. Call 800-638-9100 to walk a profile through with a millwork specialist.
Sources and Standards Referenced
- Wood Handbook: Wood as an Engineering Material, USDA Forest Products Laboratory (GTR-282)
- Preservation Briefs, National Park Service Technical Preservation Services
- BSD-013: Rain Control in Buildings, Building Science Corporation
- Codes and Standards, American Wood Council
- Moulding and Millwork Producers Association, WM Moulding Patterns
- The Wood Database, species properties and identification
- Accoya Acetylated Wood, dimensional stability and durability data
- CITES, Convention on International Trade in Endangered Species
- Forest Stewardship Council, chain of custody certification