Terminations Decide Whether a Beam Reads as Timber
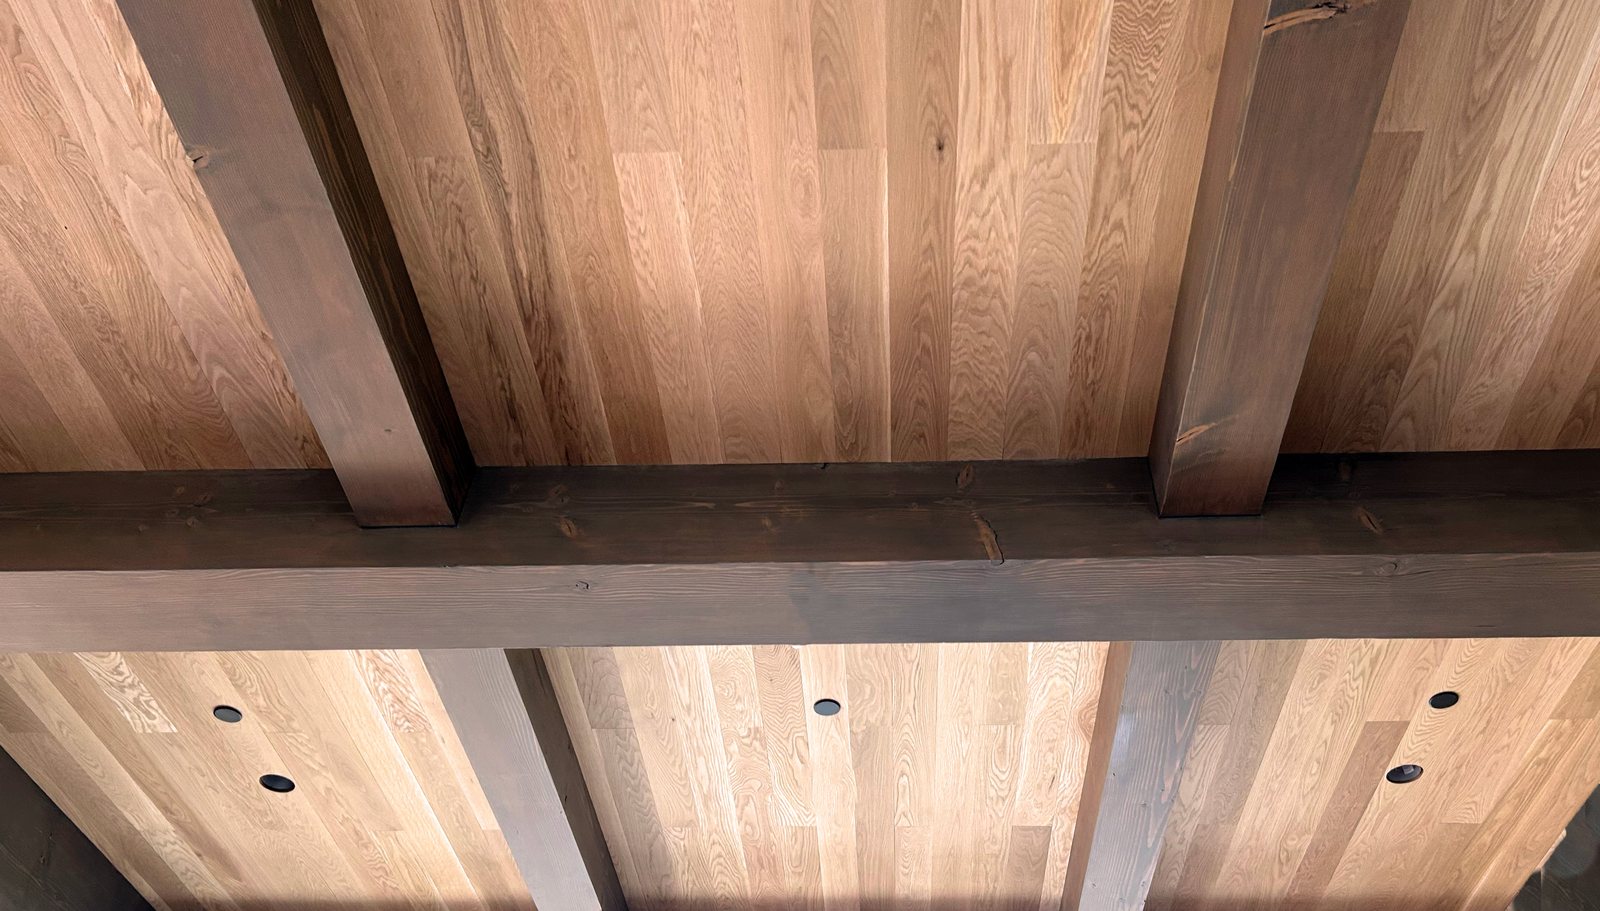
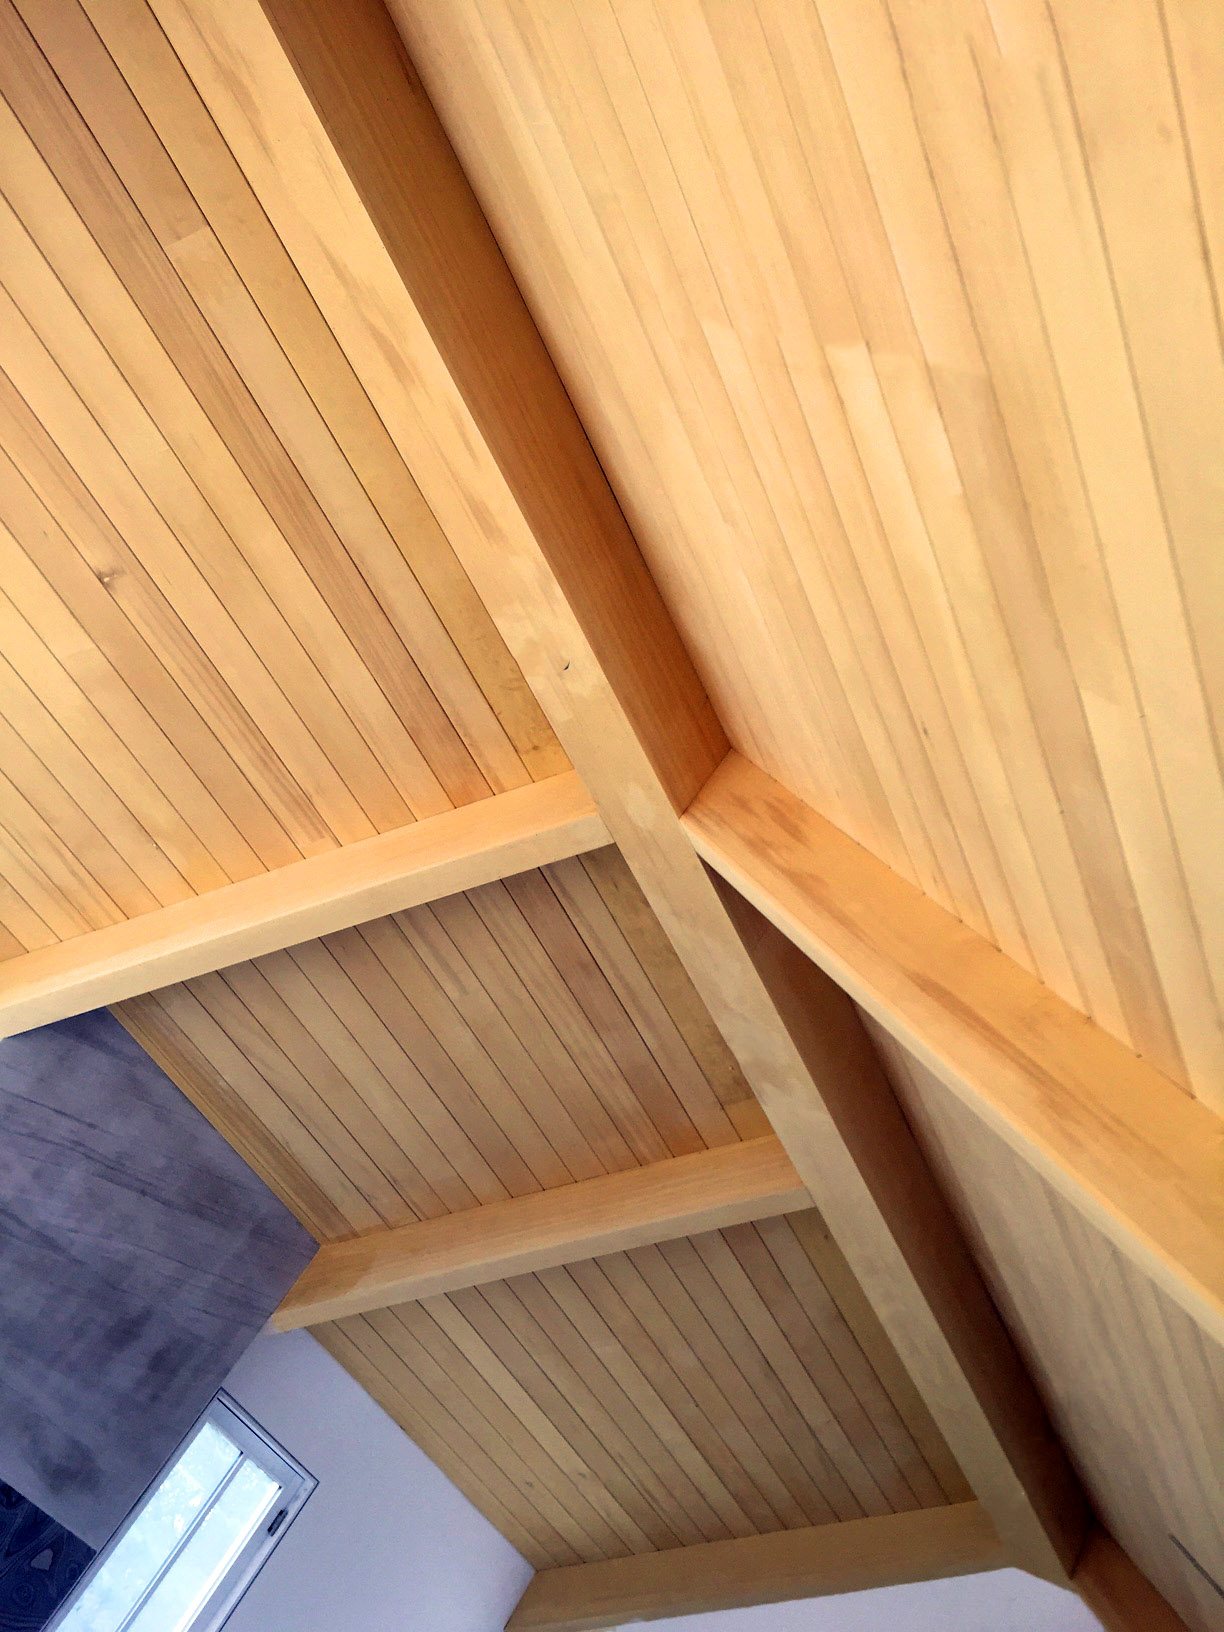
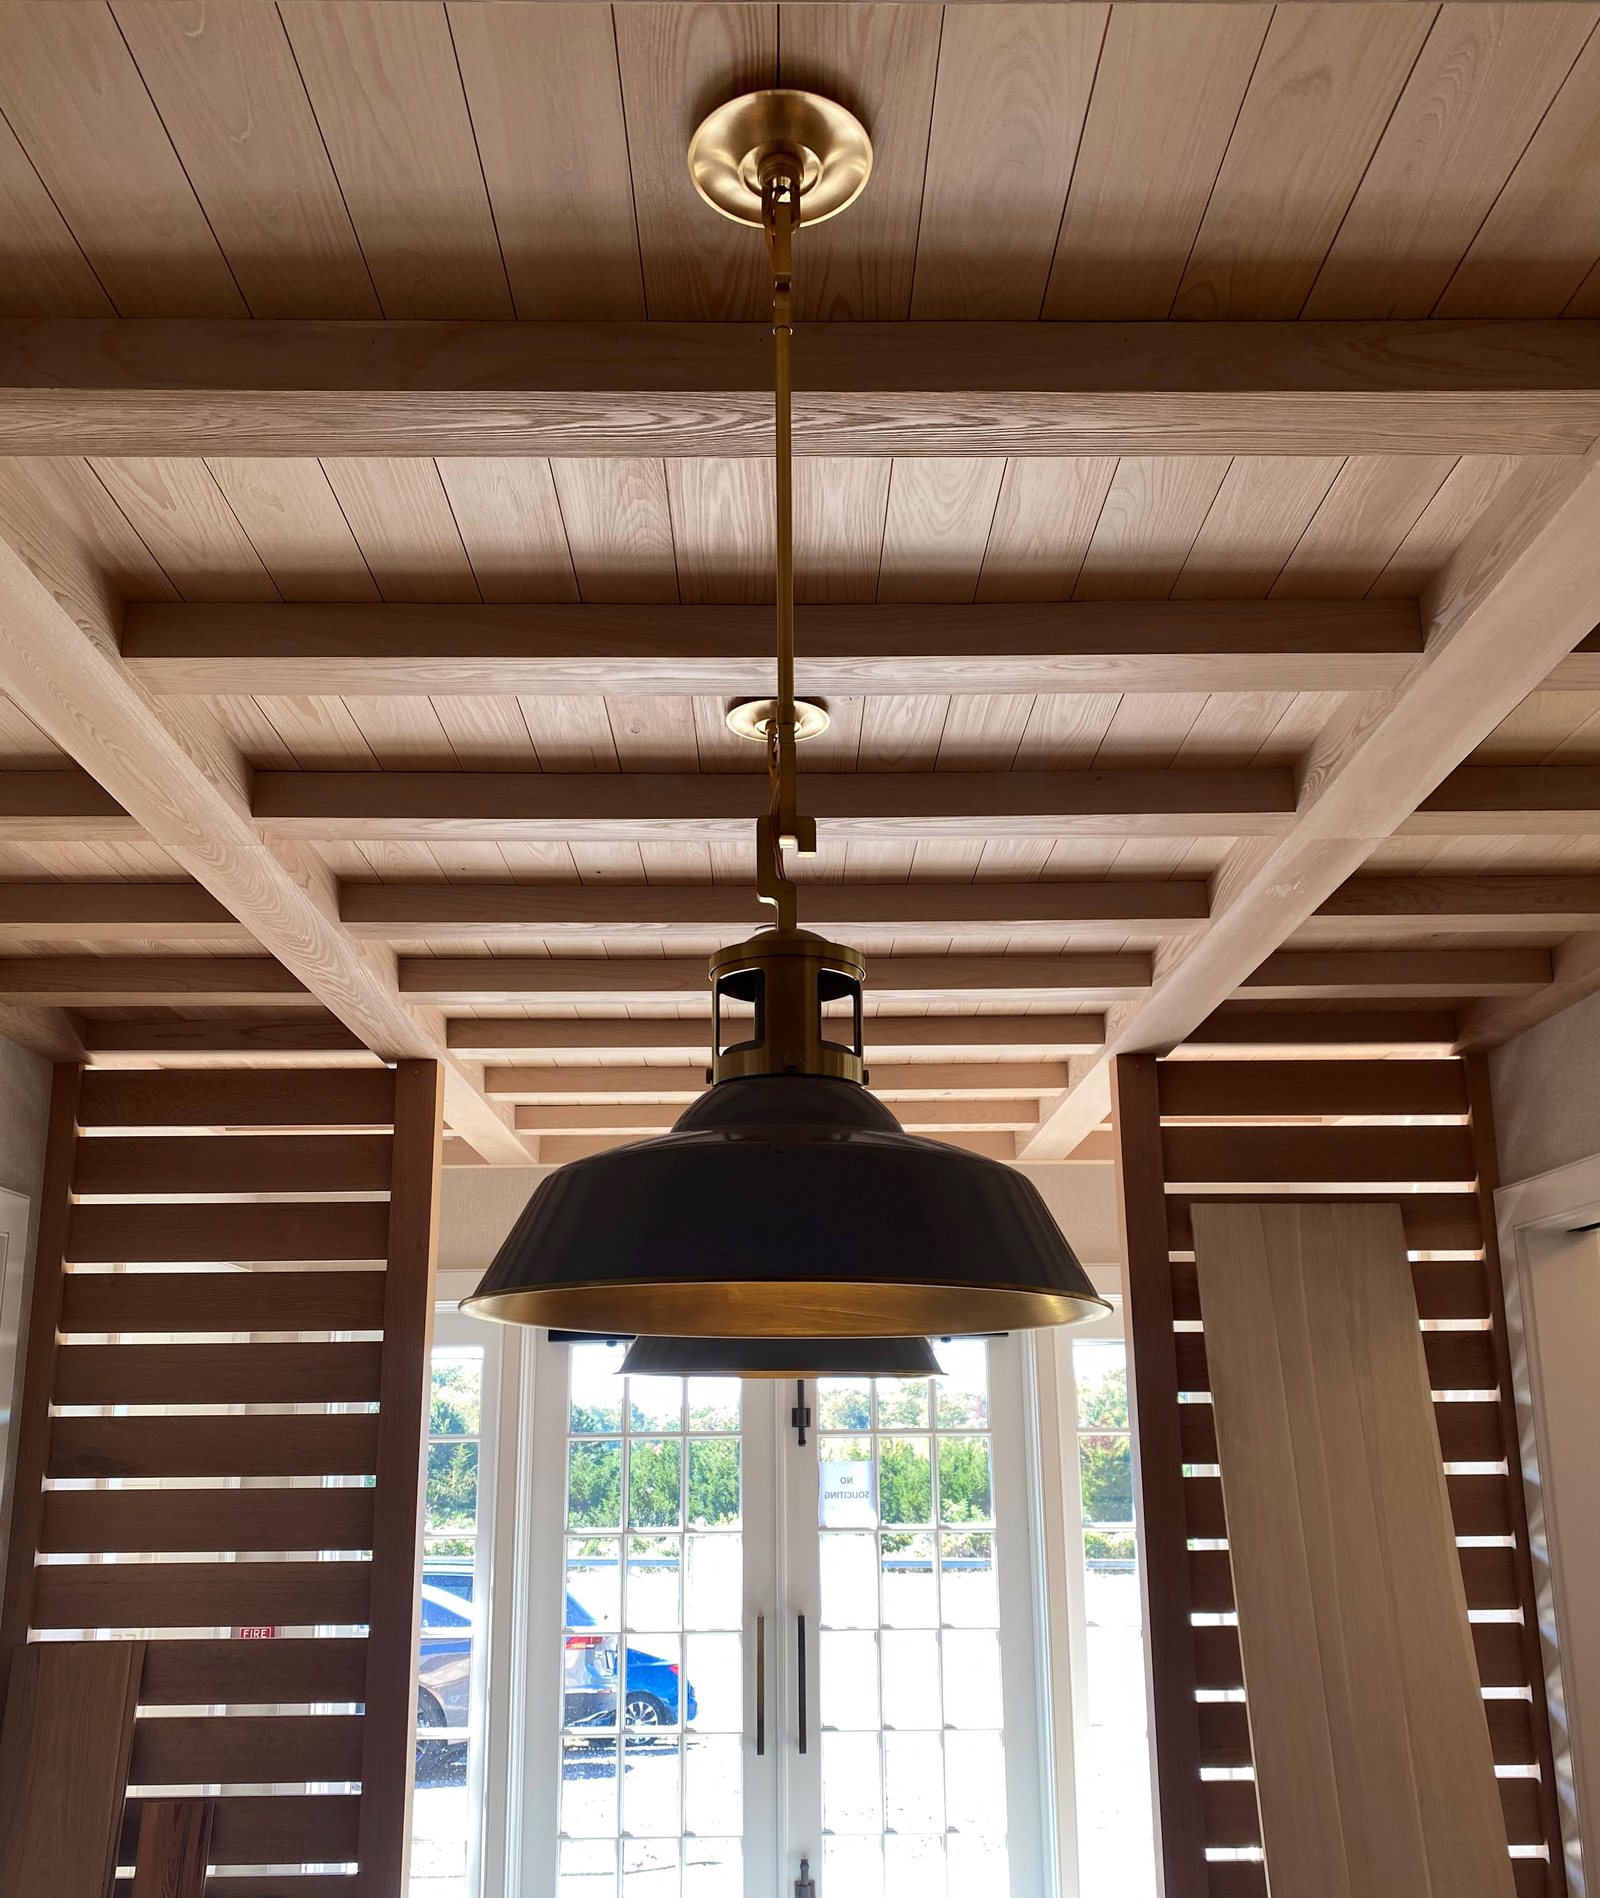
A box beam is judged at its ends, not along its length. The long faces are the easy part. Three boards, a consistent reveal, a straight run of grain, and the eye slides past. Every weakness a hollow beam carries shows up in the last 6 inches, where the assembly either stops in open air, dies into a wall, or runs into another beam. That is exactly where someone standing in the room looks for thickness.
Solid timber never has to answer the question. Cut a solid beam off and the end grain is honest, because there is nothing behind it. A hollow box has a wall thickness, and at a free end that thickness is visible from the floor as a shadow line roughly the depth of one board. Unless the detail is drawn, the beam announces itself as a wrap.
ICD, the architectural millwork division of J. Gibson McIlvain, builds box beams as engineered assemblies planned around a specific ceiling rather than cut from a catalog size. The termination is settled on paper before the first board is ripped, because the end condition changes the joinery, the blank width, the finish schedule and the amount of field allowance that leaves the shop. The ICD working process treats each beam run as a set of parts with named ends, not as generic linear footage.
The Wall Pocket at a Dead End
A box beam that dies into a wall needs a pocket, not a tight butt joint against finish plaster. Walls are rarely plumb through the last 12 inches below a ceiling, and drywall at an inside corner is almost never flat enough to take a scribed hollow box. You cannot shave a mitered outside corner to follow a bowed wall without opening the miter and exposing the glue line.
The fix is a pocket. The finish wall is held back or cut open so the beam runs past the wall plane by 1/2 inch to 1 inch, and the joint is closed by the wall material returning into the beam or by an applied collar. The beam end itself never has to be perfect, because it is no longer the visible edge.
Depth matters more than most drawings admit. A shallow pocket leaves nothing for the installer to work with when a ceiling is out of level over a 20 ft run. A pocket carried 1 inch deep gives a real tolerance in three directions at once, and it lets a long beam be set without racking the joinery to force it home.
ICD ships pocket-end beams long, with 1 inch to 2 inches of sacrificial length on the part, so the length can be trimmed on site to the wall as built. The cut end disappears into the pocket, which means the installer never has to produce a finish-quality crosscut at that station. An applied band moulding at the wall gives a second option, and J. Gibson McIlvain grinds a matching knife when the band has to repeat a profile already running elsewhere in the room.
Closed Ends, Open Ends and Mitered Returns
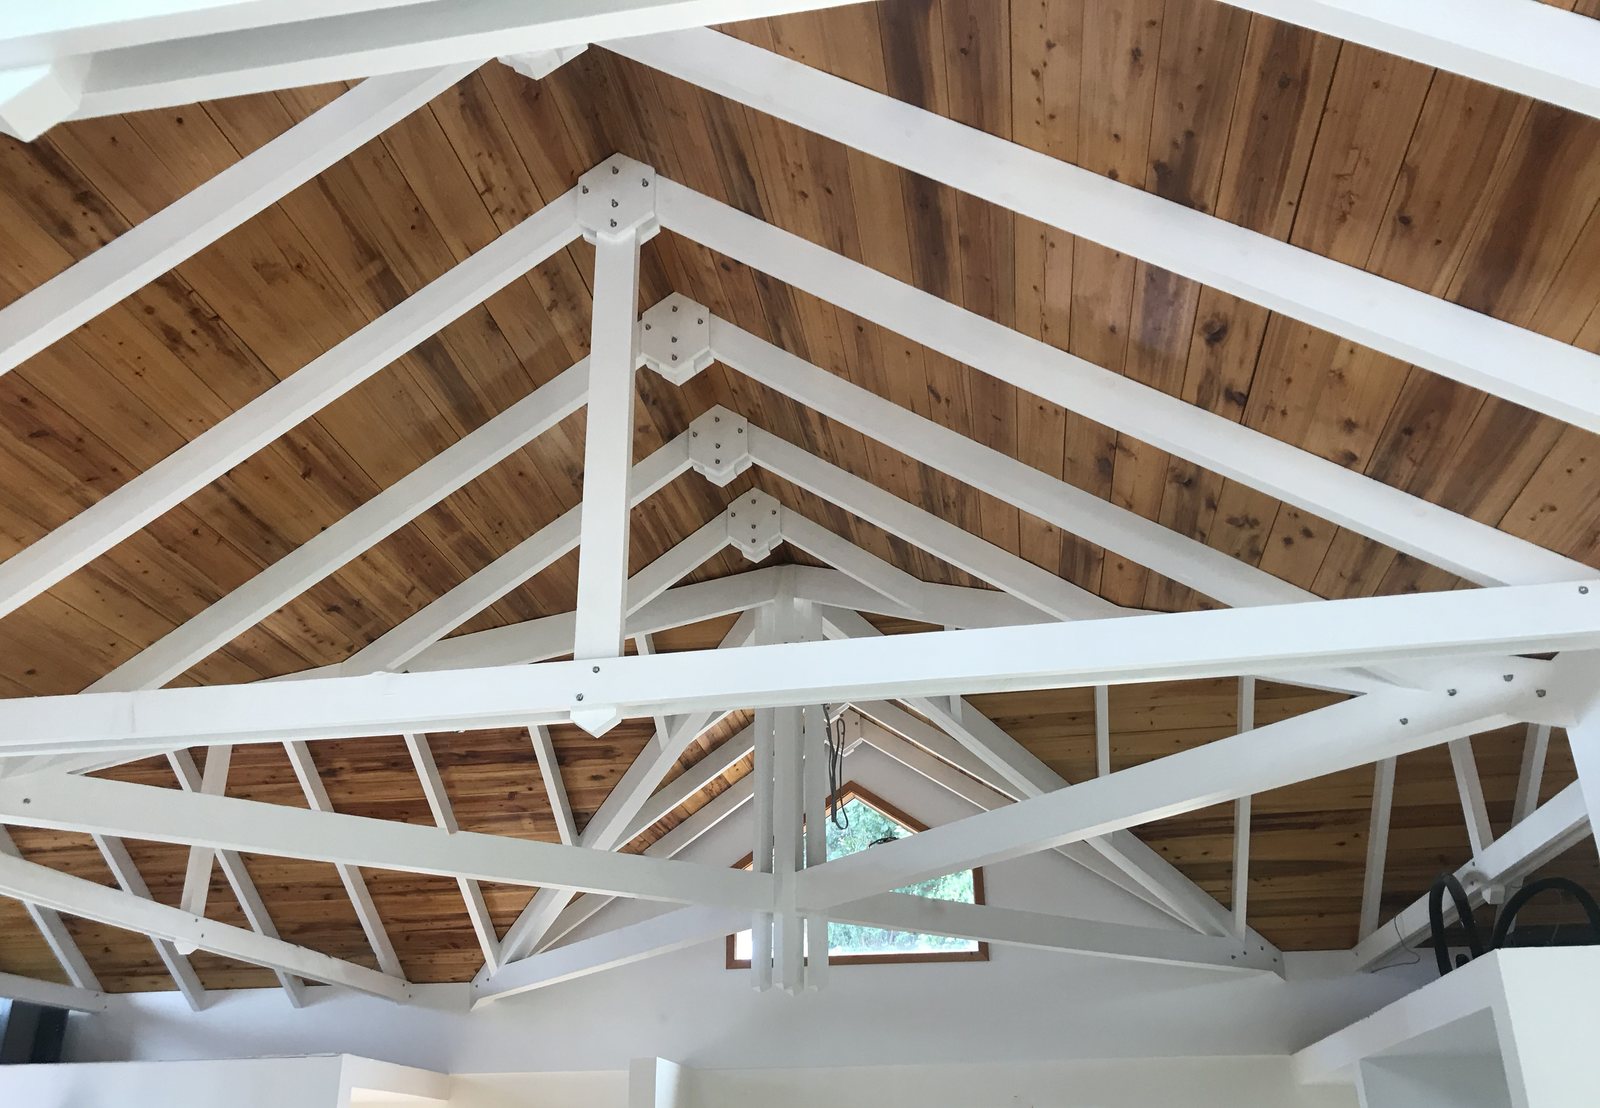
A free end has to be closed, and how it is closed is the single most visible decision on the beam. Three details cover nearly every ceiling. A butted end cap, a fully mitered return, and a recessed plug set back behind the opening.
The butted cap is a panel let into the opening and glued to the internal frame. It is fast and it is strong enough for an interior beam that nobody touches. What it leaves behind is a visible joint line on three edges and end grain on the cap itself, which takes stain differently from the faces around it.
The mitered return is the detail that reads as solid. All three edges of the cap are mitered to the beam faces so the grain wraps the corner and no end grain shows from any viewing angle. Cut the cap from the same board that produced the last 2 ft of the beam face and the figure continues around the end, which is the whole point.
The recessed plug is the quiet option. The cap sits back 1 inch to 2 inches from the opening and gets finished dark, so the eye reads a shadow rather than a surface. It suits a modern ceiling where a heavy terminal cap would look applied, and it forgives a slightly imperfect opening because the shadow hides the reveal.
Joinery at the Corner Where the Beam Stops
The corner joint running the length of the beam is on trial at the termination in a way it never is at mid-span. Along the run, a seam sits above eye level and disappears into a shadow. At a free end, that same seam turns the corner and sits where a person is looking.
Butt joints give the most minimal profile, the fastest turnaround and the easiest on-site assembly, and they are the weakest of the three. They leave visible seams and visible end grain. On a painted beam with a pocket at both ends, that tradeoff is often correct and nobody will ever know.
Dado joints are strong and still easy to assemble on site, and they still show seams and end grain. They earn their place on long stain-grade runs where the beam has to survive handling and a lift onto staging without the corner working loose.
Lock miter joints show no visible seams and are the strongest of the three. On a beam with one or both ends open in the room, the lock miter is the detail that lets the mitered return cap work at all, because the corner it meets has no glue line to interrupt the wrap. Ordering a lock miter beam and a butted cap together undoes most of what the lock miter bought.
"The first question I ask on a beam package is not the species. It is what happens at every end. Tell me which ends die into a wall and which ones are hanging out in the room, and I can tell you the joinery, the blank widths and how much length to leave on each part before we cut a thing."
Norm Moton, Director of Sales, J. Gibson McIlvain
Termination Conditions and What Ships for Each
Every end on a beam package falls into one of a small number of conditions, and each one changes what leaves the shop. Marking them on the reflected ceiling plan before the order is released is the difference between a clean set and a week of field improvisation.
| Termination condition | What gets built into the beam | Allowance left on the part | What the installer handles |
|---|---|---|---|
| Both ends die into walls | Open ends, internal frame held back from each end, no cap | 1 inch to 2 inches of sacrificial length per end | Trims to the wall as built, sets into the pocket |
| One end open in the room | Mitered return cap cut from the adjoining face board, lock miter corners | Allowance at the pocket end only, capped end cut to finish length | Trims the pocket end only, never the capped end |
| Beam meets a perpendicular beam | Solid internal blocking at the intersection station, scribe-ready square end | Length to the face of the main beam plus 1 inch | Cuts to the main beam face, fastens into the blocking |
| Beam wraps a column or post | Four-sided collar in matching stock, corner joinery matched to the beam | Collar oversized on the inside dimension for shimming | Fits the collar to the column, closes the reveal |
| Beam dies into a sloped ceiling | Angled end cut in the shop to the drawn pitch, capped or open per detail | Length allowance measured on the long point | Verifies the pitch, adjusts the long point if framing has moved |
| Beam lands on a corbel or bracket | Bearing area reinforced inside the box, cap sized to the bracket footprint | Minimal, since the bracket sets the finished length | Sets the bracket, lands the beam on it |
| Beam butts a window head or soffit | Square open end, face boards held flush for a caulk joint | 1 inch, cut back at the head | Scribes to the head trim, closes the joint |
Grain, Color and Movement Across the Return
A return cap fails visually long before it fails structurally, and the cause is almost always a board from the wrong lot. Wood on a ceiling is seen in raking light from windows, which flattens color differences and exaggerates grain direction. A cap cut from a different board than the faces it wraps will read as a patch the day the scaffolding comes down.
The answer is sequencing. Cut every cap from the offcut of the face board it meets, tag the parts to the beam number, and keep them together through finishing. J. Gibson McIlvain holds over seven million board feet of exotic and domestic lumber at the Maryland yard, which is what makes it realistic to pull a whole ceiling of beams and their caps from one lot instead of chasing color across three deliveries.
Movement at the end is a different problem from movement along the run. Length change in wood is negligible, so a pocket is about framing tolerance and ceiling deflection, not about the beam growing. Width change is real. A 10 inch face board losing moisture will pull away from a butted cap and open a hairline at the joint, which is why quartersawn and rift stock gets specified where a painted or panelized surface has to stay flat. The Forest Products Laboratory Wood Handbook chapter on drying and dimensional change gives the shrinkage coefficients that make the difference between plainsawn and quartersawn obvious in numbers.
Beam to Beam Intersections and Tee Terminations
A secondary beam dying into a main beam is a termination that has to be solved inside the main beam, not at the joint. The visible detail is simple. A square cut, a tight fit, maybe a small collar. The part nobody sees is the blocking.
A hollow main beam has nothing behind its face to fasten into. If the secondary beam lands anywhere the frame does not, the installer is screwing into 3/4 inch of face board and hoping. ICD builds solid internal blocking at every intersection station called out on the plan, so the fastening is into material that can hold it.
Getting the stations right means the reflected ceiling plan has to carry real dimensions, not a schematic grid. Field framing moves. An intersection drawn at 8 ft on center that lands 3 inches off still needs backing, which is why the blocking is run generously rather than sized to a single screw pattern.
The tee joint itself is easier to close than a wall pocket because both sides are milled surfaces. A small applied collar at the intersection, ground from the same profile library used on the room's trim, turns a fitted joint into an intentional detail and gives the installer a scribe line to work to.
Species for Beams and Their End Caps
The millwork palette for a box beam is Sapele, Utile, Iroko, Afrormosia and Teak, with White Oak, Hard Maple and Cherry covering most domestic work. These are the species that mill cleanly, glue reliably and hold a mitered corner over a long run.
Sapele at roughly 1,410 lbf sits close to White Oak at roughly 1,360 lbf and Hard Maple at roughly 1,450 lbf, so a beam package can mix a domestic interior run with an imported stain-grade run without a hardness mismatch at shared details. Cherry at roughly 950 lbf and Genuine Mahogany at roughly 800 lbf machine beautifully and take a return miter well, and both darken with light, which is worth knowing when a cap is cut months after the faces.
The tropical decking species sit in a different category. Ipe, botanically Tabebuia spp, along with Cumaru, Garapa, Jatoba and Red Balau, are extremely hard and carry high oil content, which makes them difficult to glue. A millwork shop building a glued hollow assembly with mitered returns reaches for Sapele, Iroko, Afrormosia, Teak or Utile instead, and saves the decking species for decking. The Wood Database entry on Sapele and the entry on Iroko cover the working properties behind that split.
Documentation travels with the material. J. Gibson McIlvain is an FSC certified importer and miller, and where a CITES-listed species is involved, the documentation and chain of custody move with the lumber from the yard to the job. Specifications carrying sourcing language are handled at the order stage rather than reconstructed later, and the Forest Stewardship Council and CITES both publish the current framework.
Priming and Finishing the End Detail
The end cap is the part of a box beam most likely to finish differently from everything around it. End grain drinks stain. A cap that shows any end grain will go darker than the faces unless it is sealed or conditioned first, and on a wrapped mitered return the problem disappears entirely because no end grain is exposed.
Paint-grade beams have a different failure mode. Open-grained and oily species absorb a great deal of finish, so a primer coat evens out the eventual painted surface, and sanding or buffing after priming knocks back grain raising while keeping moulded detail crisp. J. Gibson McIlvain primes in three levels, in both oil-based and water-based systems, and exterior primed work carries a fungicide additive.
Prime the inside of the cap as well as the outside. A hollow beam is a small enclosed cavity, and a cap sealed on one face only is a moisture trap that will cup toward the room. Sealing all faces before assembly costs nothing at the shop and removes the variable. Building Science Corporation's digest on moisture and materials explains why one-sided coatings behave the way they do.
Interior millwork is milled to an in-service moisture content near 6 to 8 percent, and exterior work near 12 to 16 percent. A beam delivered at interior moisture content into a building that has not been conditioned yet will move, and the first place it shows is a return miter opening at the tip.
Exterior Beam Ends and Rafter Tail Terminations
Outdoors, the termination is also the drainage detail. An exposed beam end under a porch ceiling or at the edge of a pergola is where water sits, and a capped end that traps water behind it will fail before the run does.
Rafter tails carry the same logic in a smaller part. The tail profile is the termination, and it gets ground into a knife so every tail in the run matches. J. Gibson McIlvain keeps a profile library holding thousands of ground knives and grinds new knives every week, so a historical tail profile taken off a salvaged original can be reproduced across a full replacement run. The National Park Service Preservation Briefs set the standard for like-for-like replacement where a historic district is involved.
Cedar remains a legitimate default for exterior beam wraps and pergola members, and the grade distinction matters at a visible end. Clear vertical grain, CVG, gives a uniform face and a clean terminal cut. Select tight knot, STK, gives a knotty character that reads well on a rustic pergola and costs nothing in performance when detailed correctly.
Modified woods change the length conversation. Thermory and Abodo Vulcan, both carried, along with Accoya at roughly 1,600 lbf with acetylation giving dramatically reduced shrinkage and swelling, top out around 16 ft because of kiln size, and most are sold on metric lengths just under 16 ft. Thermally modified Ash is not available wider than 8 inches, so a wide exterior beam face in a modified product means Accoya or Abodo Vulcan. Warranties exist only on those modified products. It is not possible to warranty solid wood, an organic material responding to its environment.
How J. Gibson McIlvain Would Specify This
Specify the ends first, then the beam. Mark every termination on the reflected ceiling plan with its condition, note which ends are open to the room and which die into a wall, and state the pocket depth you want held. The joinery, the blank widths and the finish schedule all follow from that.
Call lock miter corners on any beam with a free end and a mitered return cap, dado corners on long stain-grade runs with pocket ends, and butt corners where the profile has to stay minimal and both ends are concealed. State that caps are cut from the offcut of the face board they wrap and tagged to the beam number. Call for priming on all six faces, including the inside of the cap, on painted work, and name the level and the system.
J. Gibson McIlvain mills the beam components to an in-service moisture content near 6 to 8 percent for interior work, ships pocket ends long with field allowance, grinds any collar or tail profile that has to match existing work, and stores finished millwork for inventory control so a beam package releases on the ceiling schedule rather than the delivery schedule. The company runs its own fleet of trucks and a section of the mill dedicated to packaging, which is what protects a mitered return tip on a 20 ft part in transit. Beam packages ship nationwide, regularly to California.
Seventh generation and family run since 1798, J. Gibson McIlvain keeps the knife and the record on file, so phase two of a ceiling matches phase one years later rather than approximately. The full millwork shop sits on site at the lumber yard, and the architectural millwork house is ICD, which is how a run of linear trimwork and primed trim and a set of true custom beams come off the same order.
To work up a beam package, send the reflected ceiling plan with the terminations marked. Call 800-638-9100 or reach the ICD architectural millwork division to start the drawings. Detailed trim profile work and beam collars are handled in the same shop. Standards references for shop drawing content and grade rules are published by the Architectural Woodwork Institute and the Wood Moulding and Millwork Producers Association.
Frequently Asked Questions
How deep should the wall pocket be where a box beam dies into a wall?
Hold 1/2 inch to 1 inch of pocket depth as a minimum, and 1 inch is the safer call on any run over about 16 ft. The pocket exists so the beam does not have to be scribed to a wall that is out of plumb or bowed below the ceiling line. A deeper pocket also gives tolerance in three directions at once, which matters when a ceiling is out of level and the beam has to be set without racking its corner joinery. The finish wall returns into the beam or an applied collar closes the joint, so the cut end of the beam is never the visible edge.
Does every box beam end have to be capped?
No. An end that dies into a wall pocket needs no cap, and capping it wastes material and adds a joint nobody will see. Caps are for free ends that hang in the room, ends that stop at a soffit break, and ends that land on a corbel. Where a cap is needed, the three options are a butted panel, a fully mitered return that wraps grain around the corner with no exposed end grain, and a plug recessed 1 inch to 2 inches and finished dark so the eye reads a shadow.
Which corner joinery should be specified if one end of the beam is open to the room?
Lock miter. It shows no visible seams and is the strongest of the three options, and it is the only corner that lets a mitered return cap do its job, since there is no glue line at the corner to interrupt the wrap. Dado joints are strong and easy to assemble on site but still show seams and end grain, which puts them on long stain-grade runs with pocket ends at both terminations. Butt joints give the most minimal profile, the fastest turnaround and the easiest assembly, and they are the weakest, so they belong on painted beams with both ends concealed.
How much extra length should be left on a box beam for field fitting?
Between 1 inch and 2 inches per pocket end. ICD, the architectural millwork division of J. Gibson McIlvain, ships pocket-end parts long so the installer can trim to the wall as built, and the cut disappears into the pocket rather than becoming a finish-quality crosscut. Capped ends are different. Those leave the shop at finished length, because trimming a capped end in the field means remaking the cap. On a beam with one pocket end and one capped end, the allowance sits entirely at the pocket.
Why does the end cap stain darker than the rest of the beam?
End grain absorbs finish far more readily than face grain, so a butted cap that exposes end grain on its perimeter will go darker unless it is sealed or conditioned before stain. A fully mitered return removes the problem outright, since no end grain is exposed at any viewing angle. Color mismatch from the board itself is a separate issue and gets solved by cutting each cap from the offcut of the face board it wraps, then tagging the parts to the beam number so they stay together through finishing.
How is a box beam terminated where it meets another beam?
The visible joint is simple, but the work happens inside the main beam. A hollow main beam has nothing behind its face to fasten into, so ICD builds solid internal blocking at every intersection station shown on the reflected ceiling plan. Blocking is run generously rather than sized to a single screw pattern, because field framing moves and an intersection drawn at 8 ft on center can land several inches off. A small applied collar at the joint turns a fitted intersection into an intentional detail and gives the installer a scribe line.
What changes at an exterior beam end, a pergola member or a rafter tail?
Drainage becomes the governing concern, so a capped exterior end that traps water behind it will fail before the run does. Exterior work is milled near a 12 to 16 percent in-service moisture content instead of the 6 to 8 percent used for interior millwork. Cedar is a sound default, with clear vertical grain, CVG, giving a uniform terminal cut and select tight knot, STK, suiting a rustic pergola. Modified products top out around 16 ft because of kiln size, and thermally modified Ash is not available wider than 8 inches, so a wide exterior face means Accoya or Abodo Vulcan.
Does J. Gibson McIlvain install the beams?
No. J. Gibson McIlvain supplies and mills. The shop builds the beams, the caps, the internal blocking and any collar or tail profile, primes what needs priming, packages the parts to protect mitered tips in transit, and delivers nationwide on its own fleet. Setting the beams, trimming pocket ends, fitting collars to columns and closing the joints at walls and soffits are handled by the buyer's own installer or fabricator. Detailing the parts so that work goes quickly is the whole point of settling terminations before the order is released.
Sources and Standards Referenced
- Wood Handbook, Chapter 13: Drying and Control of Moisture Content and Dimensional Changes, USDA Forest Products Laboratory
- BSD-138: Moisture and Materials, Building Science Corporation
- Sapele, The Wood Database
- Iroko, The Wood Database
- Preservation Briefs, National Park Service Technical Preservation Services
- Architectural Woodwork Institute
- Wood Moulding and Millwork Producers Association
- Forest Stewardship Council
- CITES, Convention on International Trade in Endangered Species of Wild Fauna and Flora